

The right indoor grow tent is not simply the largest model that fits through the door. It is the tent that leaves enough working space around it, matches the planned canopy and light, and gives the extraction system a realistic job. A smaller, well-matched setup is usually easier to operate than a large enclosure filled with undersized equipment.
This guide helps you choose an indoor grow tent by usable floor area, height, lighting, airflow and kit contents. It also shows where a tent-only purchase makes sense, when a ventilation bundle reduces guesswork, and when a complete kit is the more practical route.
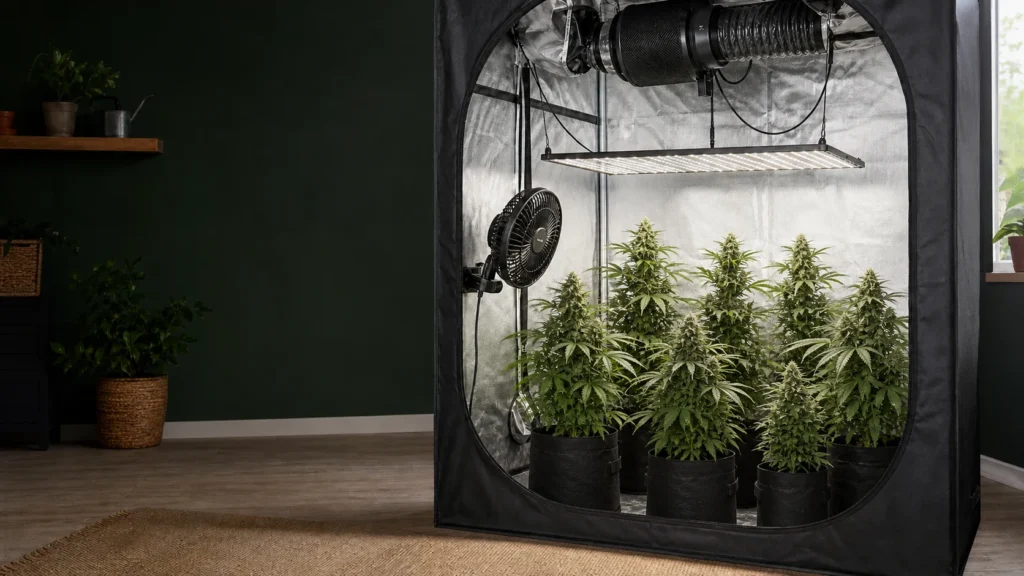
Quick answer: what should you choose?
Start with the room, not the indoor grow tent product list. Measure the available width, depth and height, then reserve space for opening the door, routing ducting, reaching controls and servicing the plants. Only after that should you compare tent sizes and equipment.
| Your starting position | Sensible direction | Main risk to avoid |
|---|---|---|
| Very limited floor area or a compact crop | Start with a compact tent and one clearly matched light | Buying a tall or powerful setup that you cannot cool or access |
| A spare-room corner with room to work | Compare mid-size tent-only and complete-kit options | Using every centimetre for canopy and leaving no service space |
| You already own compatible lighting and extraction | Buy the tent only, then verify ports, hanging height and load | Assuming existing equipment will fit because the wattage sounds right |
| You want fewer compatibility decisions | Compare a ventilation bundle or complete kit | Mistaking a ventilation bundle for a kit that also includes a light |
| You plan a large or walk-in enclosure | Design the light grid, extraction and electrical layout first | Treating a room-scale tent like a scaled-up starter kit |
The best indoor grow tent starting choice is the smallest enclosure that can hold the intended canopy and equipment without making routine access difficult.
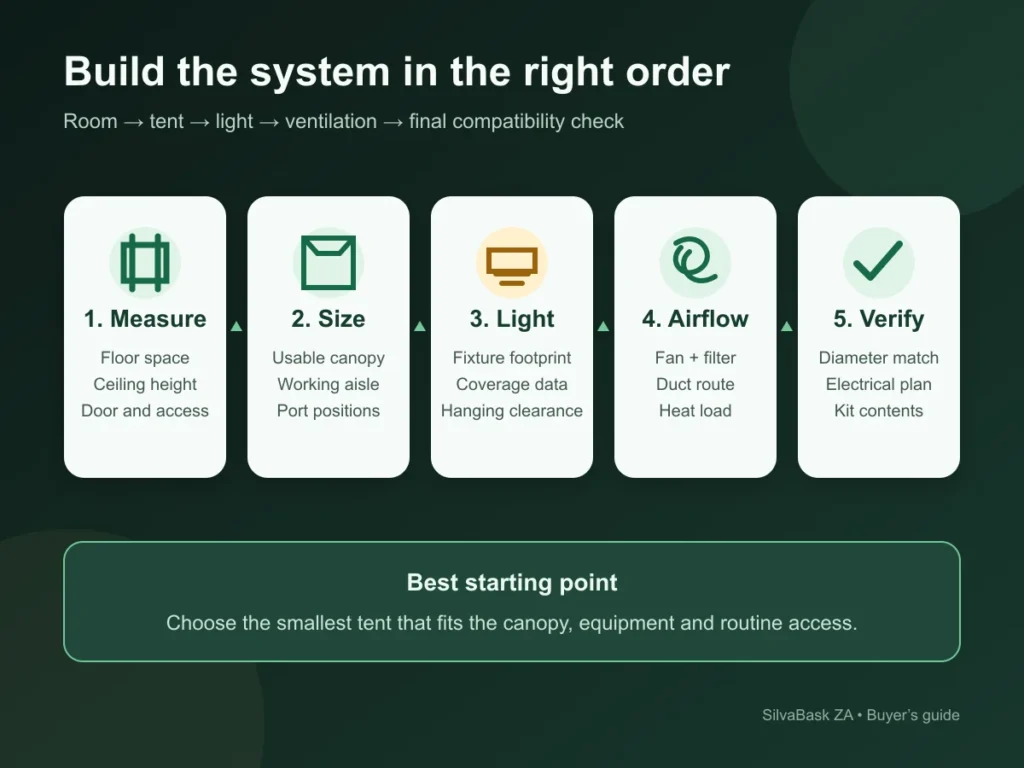
Measure the room before choosing the tent
An indoor grow tent needs more space than its published footprint. The shell may fit, but the installation can still fail if a wall blocks an intake, the door cannot open fully or the ceiling leaves no room for duct bends.
Measure and record:
- the clear floor width and depth;
- ceiling height at the lowest point;
- door swing and the route used to bring the tent into the room;
- space above or beside the tent for the fan, filter and ducting;
- access to a suitable electrical supply;
- a dry route for cables that keeps electrical connections away from water;
- the working aisle needed to inspect plants and equipment.
Do not plan from the room dimensions alone. Skirting boards, shelves, sloped ceilings and fixed furniture can reduce the usable area. Before ordering an indoor grow tent, leave a practical gap where the manufacturer’s assembly and ventilation instructions require it.
Choose size by usable canopy and working clearance
When you assess an indoor grow tent, remember that the label describes the enclosure, not the final usable canopy. Pots, trays, circulation fans, humidification or dehumidification equipment and access paths all use space. Height is also consumed by the container, plant, hanging hardware, light fixture and the clearance required between the light and canopy.
Current SilvaBask tent-only listings provide several planning points, from a compact 60×60×140cm enclosure to 90×90×180cm, 120×120×200cm and 150×150×200cm formats, plus larger 240×120cm, 240×240cm and 300×300cm options. Use the table as a planning guide rather than a promise of plant count or yield.
| Tent format | Planning use | Lighting approach | Access and environment check |
|---|---|---|---|
| 60×60×140cm | Compact plants, herbs or a tightly managed small canopy | One compact fixture matched to the canopy | Height is limited; verify container, fixture and hanging clearance carefully |
| 90×90×180cm | A flexible small indoor setup | One board-style fixture, selected by crop and intensity | Leave room for training, circulation and door access |
| 120×120×200cm | A broader single-zone canopy | One suitable larger fixture or an intentional light plan | Check heat load, extraction route and electrical capacity |
| 150×150×200cm | A wider, higher-output setup | Broad-coverage fixture selected from current output information | Environmental control becomes a larger part of the purchase |
| 240×120×200cm | Long rectangular canopy or two planned zones | Use a deliberate multi-fixture or zoned layout | Avoid dark edges, conflicting schedules and inaccessible centre areas |
| 240×240cm and larger | Walk-in or room-scale growing | Design a light grid before ordering | Plan multiple access points, extraction capacity and electrical work as a system |
Compare an indoor grow tent in the current Grow Tents range only after you have written down the maximum external dimensions and the minimum working clearance you need.
Tent only, ventilation bundle or complete kit?
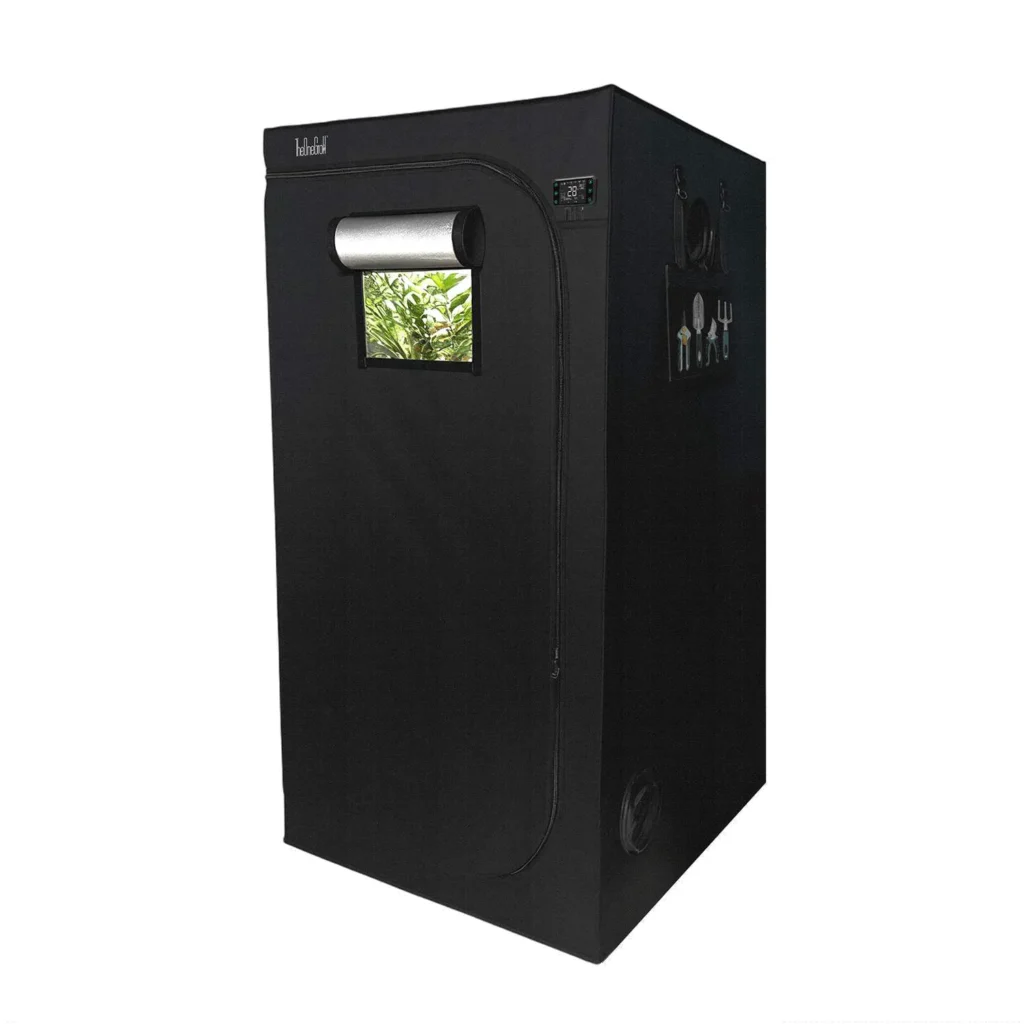
When buying an indoor grow tent, these three purchase types solve different problems. The product title and component list matter more than the word “kit”.
| Purchase type | Usually includes | Best for | Check before buying |
|---|---|---|---|
| Tent only | Enclosure, frame and listed tent accessories | Buyers who already own compatible equipment | Port sizes, frame capacity, access, tray and exact external dimensions |
| Tent plus ventilation bundle | Tent, matched extraction components and listed fittings | Buyers who have a light but want a clearer airflow path | Whether a light is excluded, fan/filter sizes and every included fitting |
| Complete grow tent kit | Tent, a named grow light, ventilation and the listed accessories | Buyers who want a preselected starting system | Exact contents, light model, control options and items still required |
SilvaBask currently separates tent-only products from Grow Tent Kits. Some current kit names identify a matched light, while the ventilation-kit descriptions explicitly state that the light is sold separately. Read the contents line by line rather than assuming every bundle is complete.
Match the light to the canopy, not the tent label
An indoor grow tent does not determine the correct light by itself. The intended canopy, crop stage, target intensity, fixture dimensions, hanging height, heat output and control method all change the answer.
Use this sequence:
- Define the canopy area you will actually use.
- Check the manufacturer’s current coverage and output information for that area.
- Confirm that the fixture physically fits inside the frame with safe cable and hanger routing.
- Subtract the pot, plant, fixture and required clearance from the internal height.
- Add the light’s heat and power needs to the ventilation and electrical plan.
Current SilvaBask kit names provide practical matching examples: MA120 kits are listed with 60×60cm and 90×90cm tents; MA200 kits with 90×90cm and 120×120cm tents; MA400 kits with 90×90cm, 120×120cm and 150×150cm tents; and an OCP800 kit with a 150×150cm tent. These are current bundle configurations, not a rule that every crop should use the same intensity. Verify the exact product page before ordering, or compare the current LED Grow Lights range separately.
Plan indoor grow tent extraction as one system
Airflow is not one accessory added at the end. The fan, filter, duct diameter, duct route, intake area and room conditions work together. A filter or restrictive duct run can reduce delivered airflow, so a fan’s headline rating is not the same as the airflow available in the installed tent.
Start with the internal tent volume:
tent volume (m³) = length (m) × width (m) × height (m)
Then compare the required air exchange and heat-removal duty with the manufacturer’s installed-performance information. Allow for the carbon filter, duct length, bends and seasonal room conditions. There is no single fan size that suits every South African location or every lighting load.
The current SilvaBask inline-fan and carbon-filter listings use matching 100mm or 150mm connection options. Keep the fan, filter, ducting and clamps on the same compatible diameter unless the manufacturer specifies a supported transition. Do not reduce a larger system casually, because the restriction may change noise and delivered airflow.
Separate extraction from circulation and humidity control
Inside an indoor grow tent, extraction removes warm or humid air from the enclosure while circulation moves air within the canopy. They are related, but one does not replace the other.
Position circulation fans so that leaves move gently rather than being blasted continuously. Check for still pockets under dense foliage and around corners. Measure temperature and relative humidity where the canopy actually sits, not only near an intake or at room level.
Local conditions matter. A dry highveld room and a humid coastal room may need different equipment even when the tent and light are identical. Select humidification, dehumidification or cooling from measured room and tent conditions instead of assuming one national setting.
Use a compatibility matrix before you pay
A short written matrix exposes missing parts before checkout. Complete one row for each indoor grow tent setup you intend to build.
| Decision | Record before purchase | Pass condition |
|---|---|---|
| External fit | Tent dimensions plus assembly and service clearance | The enclosure, door and duct route fit the real room |
| Usable height | Pot + plant + hanger + fixture + required light clearance | The planned canopy fits without unsafe compression |
| Lighting | Fixture dimensions, current output map, controls and rated power | The light suits the usable canopy and fits the frame |
| Extraction | Tent volume, heat load, filter, duct length and bends | Installed airflow can meet the planned duty |
| Filtration | Filter diameter and rated compatibility | Filter, fan, duct and clamps form one compatible line |
| Circulation | Fan positions and access | Air can move around and through the canopy without blocking work |
| Electrical | Total rated load, sockets, timers and cable route | The plan follows product instructions and appropriate local electrical practice |
| Kit contents | Every named component and excluded item | No essential item is assumed from the word “kit” |
For higher-power equipment, structural hanging, or electrical work beyond normal plug-in setup, follow the manufacturer’s instructions and use an appropriately qualified local professional where required.
Common indoor grow tent buying mistakes
Most expensive mistakes happen before assembly. Watch for these patterns:
- buying by plant-count claims instead of measuring the canopy and containers;
- using the full floor area as canopy without leaving access or equipment space;
- selecting a light by wattage alone and ignoring its dimensions and output map;
- forgetting that the light, hanger and clearance reduce usable height;
- matching the fan to tent volume but ignoring the filter, duct bends and heat load;
- assuming a ventilation kit includes a grow light;
- buying equipment with different duct diameters and planning to “make it fit” later;
- using current room temperature or humidity as if it represents every season;
- placing electrical connections where irrigation or spills can reach them;
- choosing a large enclosure before planning how to work in the centre.
An indoor grow tent should simplify environmental control. If the equipment list creates more unknowns than it removes, step back to a smaller size or a more clearly specified bundle.
A practical way to choose today
Use this order to keep the decision commercial and measurable:
- Mark the maximum external footprint and height in the real room.
- Define the usable canopy rather than filling the full tent floor.
- Decide whether you are reusing equipment, buying a ventilation bundle or buying a complete kit.
- Match the light from current coverage, physical fit, hanging clearance and controls.
- Build the fan, filter, duct and intake path as one airflow system.
- Add circulation and humidity equipment from measured conditions.
- Compare the final bill of materials with a current bundle before ordering.
This process makes it easier to reject an impressive-looking setup that is poorly matched and choose one you can actually install, access and control.
Frequently Asked Questions
These answers address the final checks buyers commonly need after comparing size, equipment and bundle type.
What size indoor grow tent should a beginner choose?
Choose the smallest tent that fits the intended canopy, equipment and working access. A 60×60cm format can suit a tightly managed compact setup, while a 90×90cm format gives more flexibility if the room can support its height and service space. Do not choose from plant count alone; measure containers, light clearance and the aisle you need.
Is a complete kit better than buying the tent separately?
A complete kit can reduce compatibility decisions when the exact light, ventilation and accessories are listed. A tent-only purchase is better when you already own suitable equipment or want to specify every component. Compare the full bill of materials, not only the bundle price or title.
How do I know whether a grow light fits my tent?
Check the fixture’s physical dimensions, current output or coverage information, hanging system, control method and required distance from the canopy. Then subtract the container, plant, fixture and clearance from the tent’s internal height. A light can fit the floor area but still leave too little vertical room.
Do I need a carbon filter in an indoor grow tent?
A carbon filter is relevant when odour filtration is part of the setup requirement. If you use one, match its connection diameter and rated compatibility with the inline fan, ducting and clamps, and allow for the restriction it adds to airflow. Check current product instructions rather than assuming every fan and filter pair will work together.
Further Reading
If you are building the exhaust path separately, compare the current Inline Fans and Carbon Filters after choosing a compatible duct diameter. When the full equipment plan is ready, use the Grow Tents category as the main commercial comparison page.
Conclusion
The best indoor grow tent is the enclosure that fits the real room, protects usable height and supports a matched light, extraction line and working routine. Measure first, distinguish tent-only, ventilation and complete-kit offers, and verify every component before comparing prices. A balanced setup will usually be a better purchase than a larger tent built around assumptions.